
We may earn money or products from the companies mentioned in this post.
Remember when you and your besties would create friendship bracelets for each other? We’ve been inspired by Thanks, I Made It to create a friendship bracelet with a grown-up twist. These Wish Bracelets are the perfect gift to give as a thank you to your bridesmaids or to your friends to celebrate your hen party.
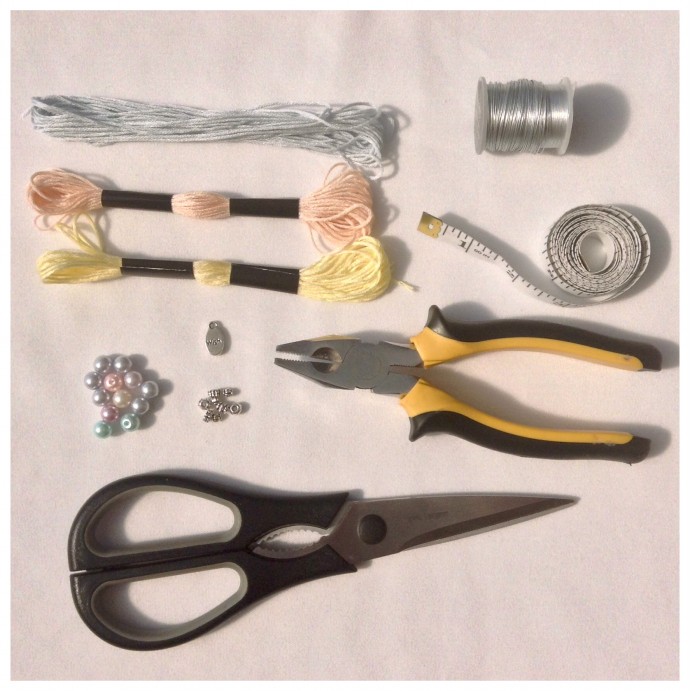
You will need …
- Embroidery Thread
- Charms
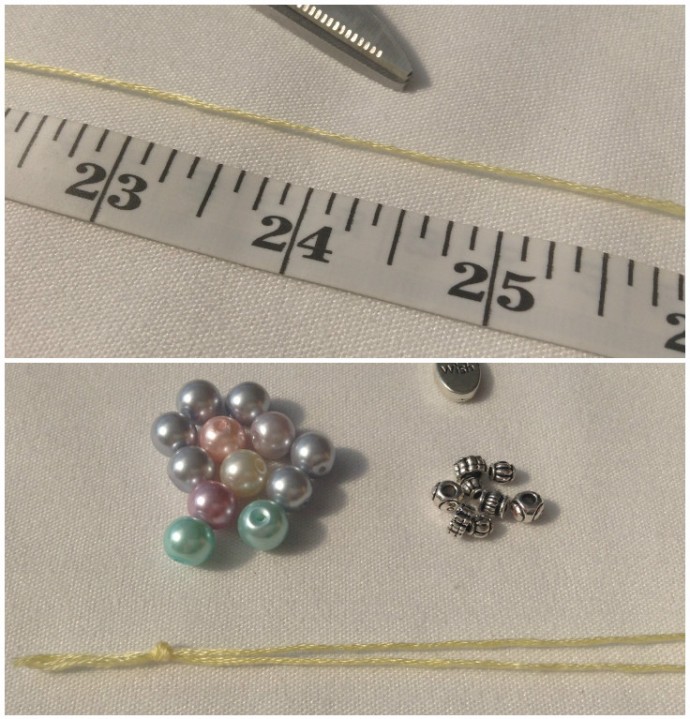
- Beads (one needs to be approx 4mm)
- Beading Wire
- Scissors
- Pliers
Follow this …
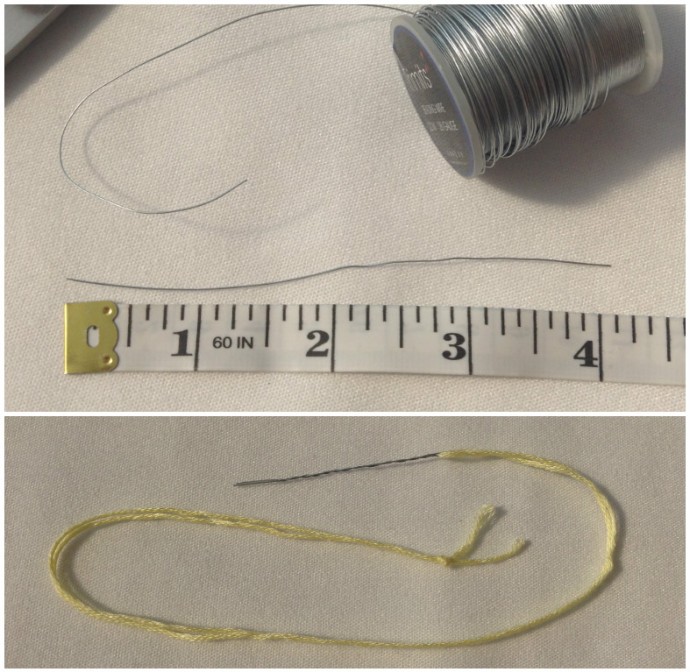
Measure and cut the embroidery thread to around 60 cm/24 inches long. Fold it in half, creating a loop and knot both ends together.
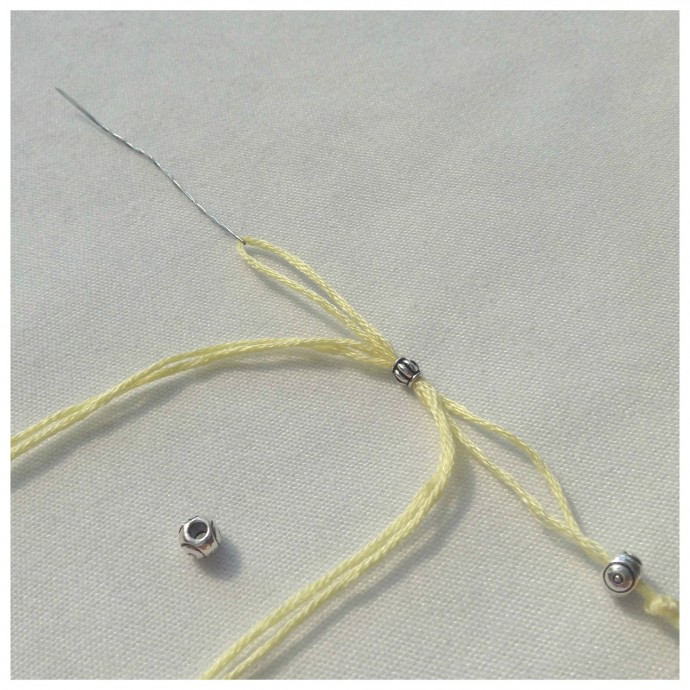
Fold over a 10cm/4inch piece of beading wire and hook it around the loop of the embroidery thread. Lightly twist together the wire, using the pliers to flatten the folded end to create a make-shift needle.
You will now thread on 3 beads and a charm. Thread bead number one and push it all the way down to the knotted end. Thread bead number two, which will be used to adjust the size of the bracelet, so it needs to be small, around 4mm. Thread on the third bead and the charm.
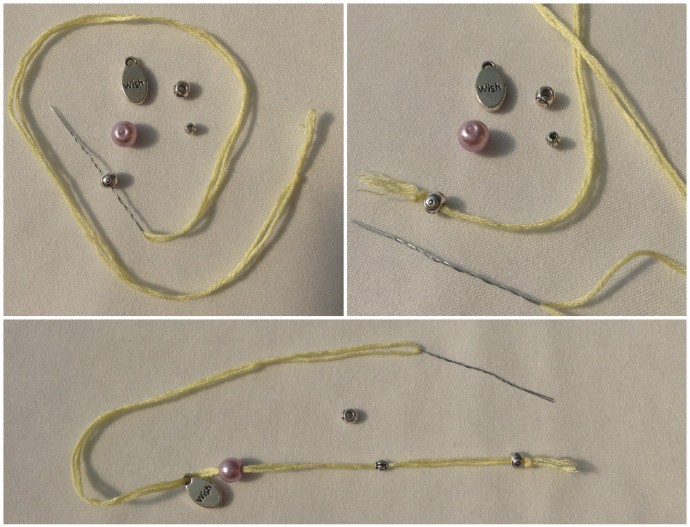
Before threading on the final bead, you need to create the adjustable toggle. With the make-shift needle, thread back through the second bead and pull it out.
Thread on the final bead. Unhook the make-shift needle and tie a knot at the looped end of the tread, leaving enough of a tail. Cut the loop and create tassel on both knotted ends of the bracelet.
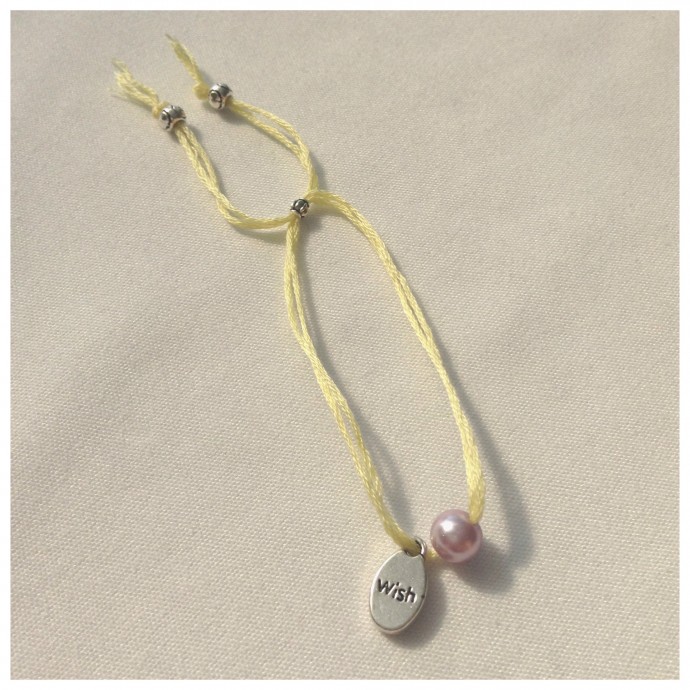

Enjoy x
Credits:
Thanks, I Made It